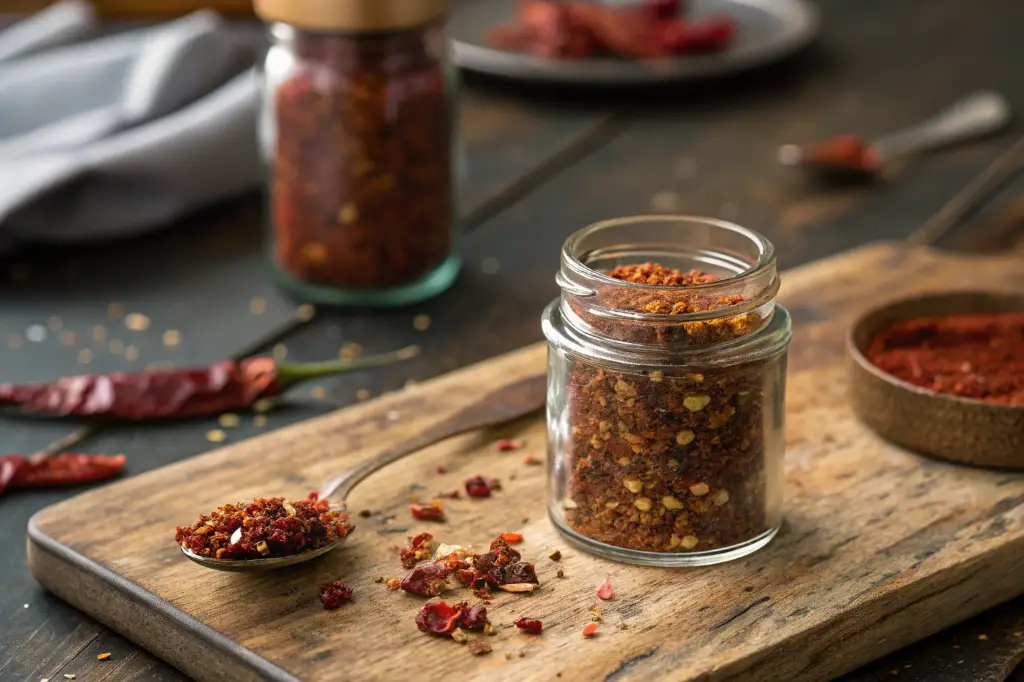
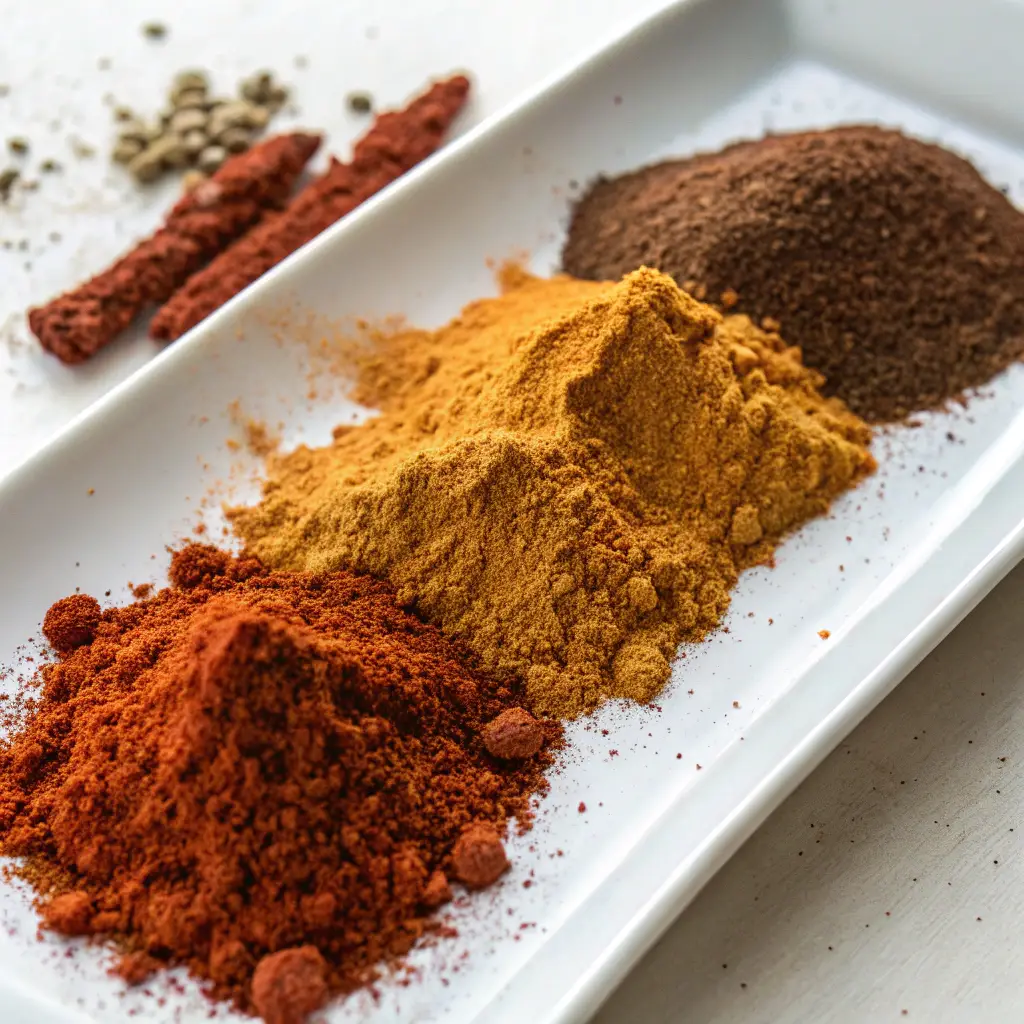
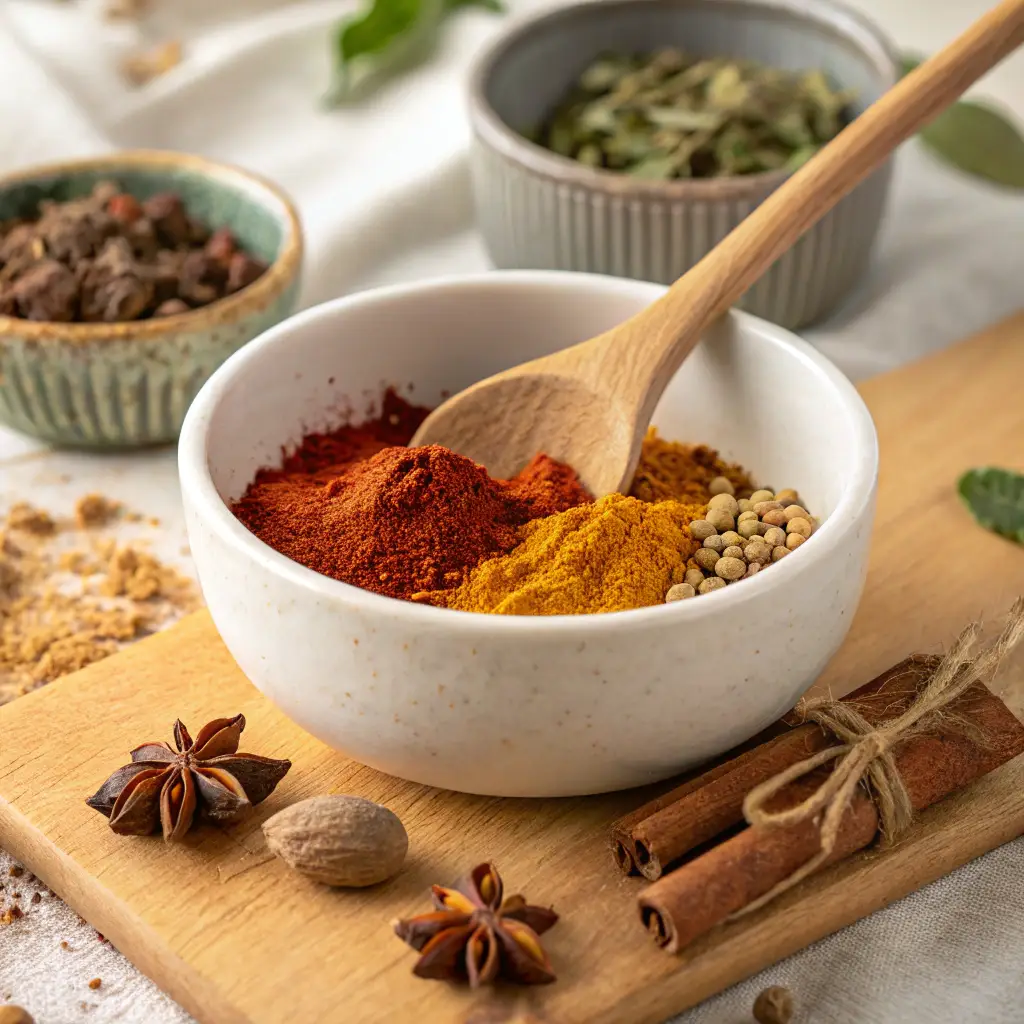
Chili seasoning recipe lovers—this one’s for you. If you’re tired of bland, store-bought spice packets, it’s time to level up your chili game. Making your own chili seasoning recipe takes just five minutes, and the payoff is huge: bolder flavor, cleaner ingredients, and total control over the spice level.
With pantry staples like chili powder, cumin, paprika, and a few surprise ingredients like cocoa and cinnamon, this mix transforms any pot of chili into something unforgettable. Whether you’re making classic beef chili, vegan versions, or even Tex-Mex inspired tacos, this DIY blend is your new go-to.
Table of Contents
Table of Contents
Why You Should Make Your Own Chili Seasoning recipe
The Downsides of Store-Bought Chili Packets
Walk down any grocery aisle and you’ll see a dozen versions of ready-made chili seasoning recipe packets. But flip one over and the ingredient list tells a different story. Most are filled with preservatives, artificial flavors, added sugars, and even anti-caking agents. Not to mention—some include allergens like gluten or dairy derivatives.
Store-bought seasoning blends often rely on generic or diluted spice bases, leading to flat or one-note chili. You don’t need a culinary degree to craft your own mix—it’s faster than brewing coffee and way more satisfying.
Cost, Control, and Clean Ingredients: Key Benefits of DIY
Making your own chili seasoning recipe isn’t just about better taste—it’s a smart kitchen move for your health and wallet. When you create your own mix, you’re in charge of everything: the heat level, the salt content, and the overall flavor profile.
Need it low-sodium? Easy. Want it smokier? Add smoked paprika. Cooking for kids? Reduce the cayenne or skip the red pepper flakes. You’ll not only save money by buying spices in bulk, but you’ll also cut back on waste and packaging.

Best Homemade Chili Seasoning Recipe (Bold Flavor in Minutes)
Ingredients
Method
- 1. Mix all ingredients together in a small bowl or jar. Store in a small airtight container.
- 2. After cooking meat and vegetables for chili, stir in spice mix and toast for 1-2 minutes before adding liquid ingredients to chili.
Nutrition
Notes
Tried this recipe?
Let us know how it was!Core Ingredients in a Chili Seasoning Recipe

Exploring the Must-Haves: Chili Powder, Cumin, Paprika
At the heart of any good chili seasoning recipe lies a trio of essential spices—chili powder, ground cumin, and paprika. These three create the rich, earthy, and smoky foundation chili is known for.
- Chili Powder: This isn’t just powdered chili peppers—it’s usually a blend of spices, including paprika, oregano, garlic powder, and sometimes salt. It gives your seasoning mix the iconic reddish-brown color and bold base flavor.
- Ground Cumin: With its warm, slightly nutty aroma, cumin adds depth and complexity. It balances out the heat with earthiness that lingers pleasantly on the palate.
- Paprika: Whether you go for sweet, hot, or smoked paprika, it brings a gentle heat and a beautiful color. Smoked paprika adds that extra layer of barbecue-like richness—ideal for beanless or meat-heavy chilis.
These spices work together to deliver that classic chili flavor everyone loves.
Flavor Enhancers: Cocoa, Cinnamon, and Cayenne
What sets this chili seasoning recipe apart from others is its unexpected—but totally intentional—supporting spices. These flavor enhancers take a simple blend from good to unforgettable.
- Unsweetened Cocoa Powder: It might sound odd, but just a small amount of cocoa adds rich depth and a slight bitterness that balances the spice and acidity of tomatoes in chili.
- Ground Cinnamon: Like cocoa, cinnamon adds warmth and subtle sweetness. It rounds out the flavor profile and ties everything together.
- Cayenne Pepper: Want more kick? A dash of cayenne gives your blend real heat. Adjust based on your spice tolerance.
- Red Pepper Flakes: These flakes introduce a slower, lingering heat and give the chili a little more attitude.
- Garlic Powder & Onion Powder: These pantry classics bring savory, umami notes and help the seasoning blend penetrate meats and beans more effectively.
Don’t miss our creative uses for spice blends like this one: https://www.saveallrecipes.com/pink-salad-dressing/
Here’s a quick reference table of core and optional ingredients:
| Ingredient | Role in Blend | Use More/Less For… |
|---|---|---|
| Chili Powder | Base flavor, mild heat | More flavor |
| Ground Cumin | Earthy, warm tone | Richer taste |
| Paprika (or smoked) | Color and sweetness/smokiness | Smoky or bright finish |
| Cocoa Powder | Deepens and rounds flavor | Gourmet or rich chili |
| Cinnamon | Adds warmth and a touch of sweetness | Holiday chili vibe |
| Cayenne Pepper | Direct heat | Spicier version |
| Red Pepper Flakes | Lingering heat | Bolder kick |
| Garlic & Onion Powder | Savory backbone | All-purpose flexibility |
Check out other cozy recipes that pair well with chili here: https://www.saveallrecipes.com/frozen-hash-brown-patties-in-air-fryer/
Step-by-Step Chili Seasoning Recipe

Exact Ingredient Measurements for Balanced Heat
To create a truly balanced and customizable chili seasoning recipe, you need the right ratios. This blend gives you a mild-to-medium heat with layers of smoky, earthy, and warm notes. It’s perfect for 3 pounds of meat or a standard 6-serving pot of chili chili seasoning recipe .
Here’s the exact spice blend:
| Spice | Amount |
|---|---|
| Chili Powder | 3 tablespoons |
| Ground Cumin | 1 tablespoon |
| Paprika (smoked optional) | 1 teaspoon |
| Cocoa Powder | 1 teaspoon |
| Garlic Powder | ½ teaspoon |
| Onion Powder | ½ teaspoon |
| Red Pepper Flakes | ½ teaspoon |
| Cayenne Pepper | ¼ teaspoon |
| Ground Cinnamon | ¼ teaspoon |
This will yield roughly ⅓ cup of chili seasoning, which can be scaled up and stored for future meals.
Want to make it hotter? Add more cayenne or pepper flakes. Need a smokier flavor? Increase the smoked paprika by ½ teaspoon.
Instructions for Mixing and Storing the Spice Blend
Making this chili seasoning recipe is as easy as it gets. Here’s what to do:
- Measure all spices and add them to a small mixing bowl or mason jar.
- Whisk or shake until fully combined. This ensures even distribution of flavor in every scoop.
- Store in an airtight container, preferably in a cool, dark cupboard away from heat and light.
This seasoning will stay fresh for up to 6 months—though chances are, you’ll use it all long before then.
For best results in chili:
- After browning your meat and cooking your vegetables, add the seasoning mix and stir it into the fat.
- Toast the spices for 1–2 minutes before adding liquids like tomatoes or broth. This “blooms” the spices and intensifies their flavor.
Looking for inspiration? Try it with this adaptable base sauce recipe: https://www.saveallrecipes.com/italian-pink-sauce-recipe/
How to Use Homemade Chili Seasoning
Best Ratios for Meat, Beans, and Veggies
One of the biggest benefits of a homemade chili seasoning recipe is the flexibility it gives you in the kitchen. Whether you’re cooking with ground beef, turkey, black beans, or lentils, the spice ratio you use can make or break the dish.
Here’s a simple guide to get it just right:
| Dish Type | Amount of Seasoning Per Batch |
|---|---|
| 3 lbs ground meat (beef, turkey) | 1 full batch (⅓ cup) |
| 2 cans of beans (e.g., kidney, black beans) | 2–3 tablespoons |
| Veggie chili (4 servings) | 3 tablespoons |
| Chili for 1 (single bowl) | 1½ teaspoons |
If you’re unsure how spicy you want it, start with half the batch and adjust to taste. Remember, it’s easy to add more, but impossible to remove once it’s in!
This recipe shines in beanless chili, taco meat, and slow-cooked chili con carne. It even works great for Instant Pot or Crockpot chilis, because the concentrated flavors hold up well under pressure or long cook times.
Toasting and Blooming: Getting the Most Flavor
Here’s a pro tip most people skip: bloom your spices. What does that mean? After cooking your meat and veggies, add the spice mix to the hot pan and let it cook for 1–2 minutes before adding liquids like tomatoes or broth.
This does two things:
- Releases the essential oils in the spices, unlocking deeper flavor.
- Infuses the fat in the pan with your spice blend, ensuring every bite tastes fully seasoned.
For example, if you’re making a meat chili:
- Brown your beef or turkey.
- Add diced onions, garlic, and bell peppers.
- Stir in your homemade chili seasoning.
- Toast it briefly until aromatic—don’t let it burn.
- Then add crushed tomatoes, tomato paste, and beans.
This simple move adds professional-level richness to your chili. Try it once, and you’ll never skip it again.
Adjusting the Spice Mix to Your Taste
How to Make It Spicier or Milder
One of the most powerful benefits of a homemade chili seasoning recipe is the ability to tweak the heat level based on your comfort zone—or your guests’. Whether you’re cooking for kids or spice lovers, it’s easy to tailor the blend.
To turn up the heat, try:
- Adding ½ to 1 teaspoon extra cayenne pepper
- Increasing red pepper flakes to 1 teaspoon
- Swapping in hot paprika instead of regular or smoked
To mellow it out, do this instead:
- Omit cayenne completely
- Cut red pepper flakes to ¼ teaspoon or remove them
- Use sweet paprika or smoked paprika with mild chili powder
Pro Tip: Heat builds over time as the chili simmers. Taste before adjusting again—what’s mild at first might turn medium-hot 30 minutes later!
You can even split the batch and make two seasoning jars: one labeled “family-friendly,” the other “hot & smoky.”
Ingredient Swaps for Different Flavor Profiles
Maybe you want to create a signature chili blend that matches your personal style or dietary needs. Here are some flexible swaps that won’t compromise flavor:
| Swap This | For This | Why It Works |
|---|---|---|
| Chili Powder | Chipotle Powder | Adds smoky, spicy heat |
| Cocoa Powder | Espresso Powder | Adds deeper bitterness and richness |
| Onion Powder | Dried Minced Onion | Gives more texture and milder bite |
| Garlic Powder | Roasted Garlic Granules | Richer, sweeter garlic flavor |
| Paprika | Ancho Chile Powder | Smokier, slightly sweet with a kick |
| Cayenne | Aleppo Pepper or Gochugaru | Milder heat, fruitier notes |
| Cumin | Coriander Powder (½ the amount) | More citrusy and light in flavor |
Want a sodium-free version? You’re already there—this chili seasoning recipe contains no added salt, unlike many commercial blends. You can add salt to the chili itself later and control the exact amount.
If you’re eating low FODMAP or cooking for sensitive stomachs, replace onion and garlic powders with asafoetida (hing powder) or FODMAP-safe spice blends.
Cooking Tips for Better Chili chili seasoning recipe Flavor
Timing Your Seasoning Add-In for Richer Taste
When it comes to chili, when you add your seasoning matters just as much as what goes into it. To get the full effect of your chili seasoning recipe, timing is everything.
Here’s a foolproof method:
- Brown the protein first (beef, turkey, or a plant-based alternative).
- Add chopped aromatics—onions, garlic, and bell peppers—and cook until softened.
- Sprinkle in your seasoning mix and stir it directly into the fat.
- Let the spices toast for 1–2 minutes before adding any liquids (like tomatoes or broth).
This blooming process releases essential oils and intensifies flavor. Skip this step and your chili may taste flat, even if you used the right spices.
Why does this work so well?
- Fat helps extract flavor from spices.
- Heat activates aromatics in garlic, cumin, and paprika.
- You’ll avoid raw, gritty spice flavor from tossing it in too late.
Looking for inspiration? Try this recipe that uses proper timing with cream-based sauces: https://www.saveallrecipes.com/italian-pink-sauce-recipe/
Common Mistakes to Avoid with Spice Blends
Even with a perfect chili seasoning recipe, small missteps can weaken your results. Watch out for these common errors:
- Adding seasoning too early to boiling liquids—this waters it down.
- Forgetting to toast spices—raw spices never develop their full aroma.
- Overloading chili with too much mix—it’s easier to add than subtract.
- Not stirring enough—you need full contact with oil/fat to activate the spices.
- Skipping salt entirely—your spice mix may be salt-free, but your chili shouldn’t be.
Bonus tip: Always taste and adjust near the end of the cooking process. As chili simmers, spices will concentrate. What tastes perfect at the 10-minute mark could taste overpowering at the 60-minute mark.
Pro Tip: For complex flavor, try adding ¾ of the spice blend early on, and save the remaining ¼ for the last 15 minutes of cooking. This keeps the aroma fresh and bright.
More Uses for This Chili Seasoning Recipe

Beyond Chili: Tacos, Roasted Veggies, and Marinades
Your homemade chili seasoning recipe is more versatile than you might think. While it was designed for chili, its bold, savory, slightly smoky flavor profile works beautifully across a wide range of dishes.
Here are some favorite ways to repurpose it:
- Taco Seasoning: Skip the store-bought taco packet. Use 1½ to 2 tablespoons of this blend per pound of ground meat or plant-based protein. Just add a splash of water and a bit of salt to round out the flavor.
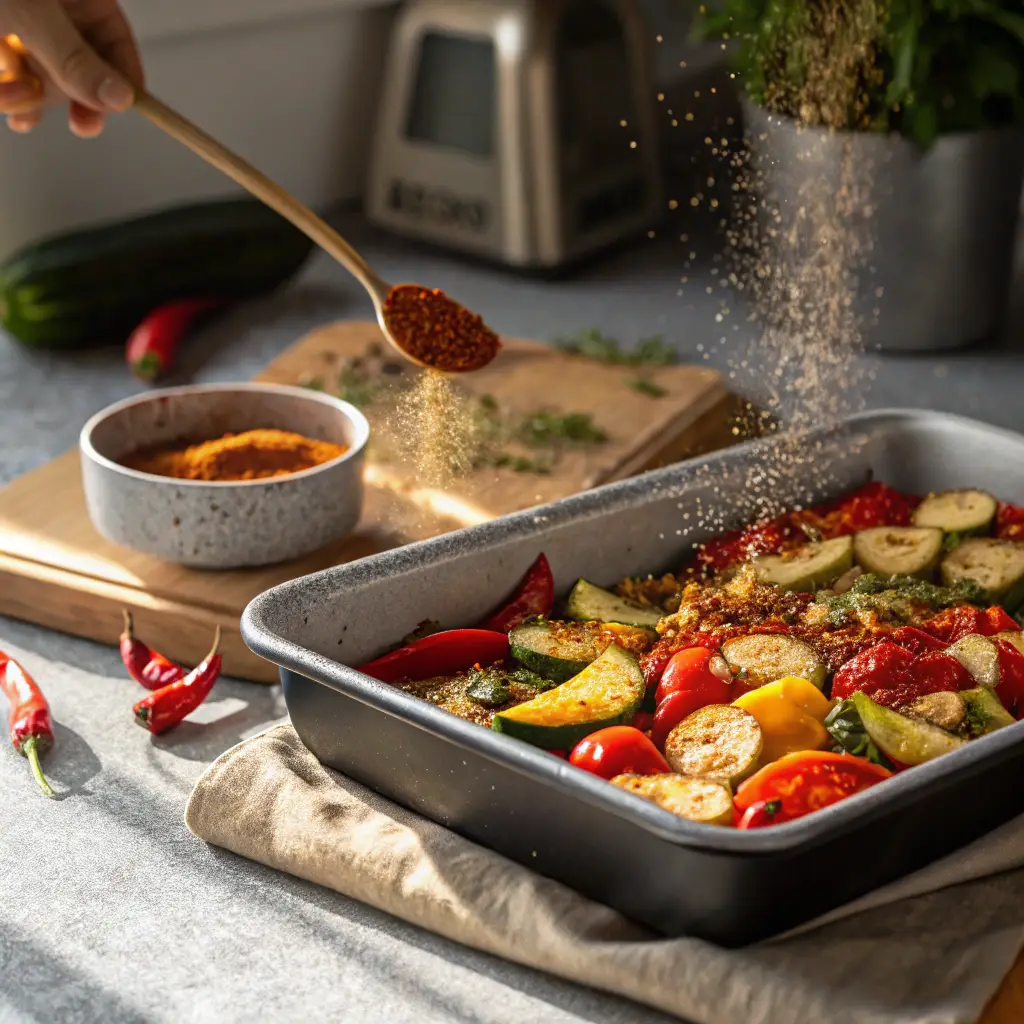
- Roasted Vegetables: Toss potatoes, cauliflower, carrots, or sweet potatoes with olive oil and 1–2 teaspoons of the seasoning. Roast until crispy for a smoky, spicy finish.
- Marinades for Grilled Meats: Combine the spice mix with lime juice, olive oil, and garlic for a fantastic marinade. Works well for chicken, shrimp, and even tofu.
- Popcorn Topping: Mix the seasoning with melted butter and drizzle over popcorn for a spicy snack with a twist.
- Eggs and Scrambles: Add a pinch to scrambled eggs or breakfast burritos for a Tex-Mex flavor upgrade.
You can also use it in quesadillas, enchiladas, or even sprinkle a bit over nachos before baking.
Check out other fun ideas for using seasoning blends like this: https://www.saveallrecipes.com/frozen-hash-brown-patties-in-air-fryer/
Dry Rubs and Soups: Creative Meal Ideas
This chili seasoning recipe also works wonders as a dry rub or base flavor enhancer in soups and stews:
- Dry Rub for Ribs or Chicken: Pat meat dry, rub with oil, then generously coat with your seasoning. Let it sit for at least 30 minutes before grilling or roasting.
- Hearty Soups: Add 1–2 teaspoons of the blend to lentil soups, black bean soups, or tortilla soup for a bold boost of flavor.
- Stews and One-Pot Dishes: Try it in sweet potato and black bean stew, quinoa bowls, or even spicy meatballs.
The smoky heat, balanced cumin, and cocoa undertones work especially well in comfort foods and dishes that benefit from long simmering.
Pro Tip: Blend it into sour cream or Greek yogurt for a quick, flavorful chili-lime dip or sauce for tacos and roasted veggies.
Storing Your Homemade Spice Mix
Best Containers for Freshness
To keep your chili seasoning recipe tasting bold and aromatic for as long as possible, storage is key. Improper storage can lead to stale, clumpy, or flavorless spices. Here’s how to do it right:
Ideal Containers:
- Glass jars with tight lids (mason jars, spice jars)
- Metal tins with inner seal rings
- BPA-free plastic spice containers
Avoid:
- Paper or cardboard packets (not airtight)
- Containers with loose-fitting lids
- Clear jars left in direct sunlight
Pro Tip: Recycle an old spice jar with a shaker top—you’ll use it more often, and it helps with easy sprinkling into chili or taco meat.
Label your container with the blend name and the date it was made. This makes it easier to track freshness, especially if you double or triple the recipe.
How Long Does Chili Seasoning Last? Shelf Life Tips
If stored correctly in a cool, dark pantry or spice cabinet, your homemade chili seasoning recipe will maintain peak flavor for 4 to 6 months. After that, it won’t go bad—but the potency will fade.
Here’s a quick freshness guide:
| Storage Condition | Shelf Life | Notes |
|---|---|---|
| Dark pantry in glass jar | 6 months | Best quality and aroma retention |
| Exposed to light/heat (e.g., above stove) | 3–4 months | Accelerated loss of flavor |
| Freezer (in airtight container) | 8–12 months | Only if long-term storage is needed |
To test freshness, smell the mix after 3 months. If it no longer smells warm and rich, it’s time to make a new batch.
Pro Tip: Store your chili seasoning near your oil, salt, and garlic. This keeps your core flavor-building ingredients within easy reach every time you cook.
Nutritional Benefits of DIY Seasoning
Low-Calorie, Low-Sodium, and Preservative-Free
One of the biggest wins of making your own chili seasoning recipe is how much healthier it is compared to store-bought mixes. Most commercial chili packets contain added sugar, MSG, artificial preservatives, and sodium levels that can skyrocket your daily intake.
Your homemade version?
- Zero added sugars
- No preservatives or additives
- Naturally low in calories (only 9 per serving)
- Completely salt-free, giving you control over sodium levels in your actual chili dish
This makes it a great option for anyone on low-sodium, diabetic-friendly, or heart-healthy diets. Plus, since it’s gluten-free and dairy-free, it’s naturally suitable for most dietary preferences—including vegan, keto, paleo, and Whole30.
Even better? You’ll likely use fewer processed ingredients overall, since you’re skipping packets and building flavor from real spices.
Micronutrients from Paprika, Cumin, and More
Each spice in your chili seasoning recipe brings small but meaningful health perks, especially when used regularly.
Here’s a breakdown of some of the star players:
| Spice | Key Nutrients | Health Benefits |
|---|---|---|
| Chili Powder | Vitamin A, C, Iron | Supports immune function & circulation |
| Cumin | Iron, Magnesium | Helps digestion and reduces inflammation |
| Paprika | Vitamin A, E, Antioxidants | Boosts eye health and reduces oxidative stress |
| Cinnamon | Manganese, Polyphenols | Supports blood sugar control |
| Cayenne Pepper | Capsaicin | Boosts metabolism and reduces appetite |
| Garlic Powder | Allicin, Selenium | Heart health and immune support |
These spices may only appear in small amounts per serving, but when used regularly, they contribute to better overall health.
Plus, the act of cooking at home—with real, whole spices—can itself lead to better nutrition outcomes.
FAQs About Chili Seasoning Recipe
How to make your own chili spice?
Making your own chili spice is quick and easy. Mix together chili powder, ground cumin, paprika, garlic powder, onion powder, red pepper flakes, cayenne pepper, cocoa powder, and cinnamon. Stir well and store in an airtight jar. Use 1–2 tablespoons per pound of meat or beans, adjusting to taste.
What is chili seasoning made of?
A traditional chili seasoning recipe is made with a blend of spices including chili powder, cumin, paprika (sweet or smoked), garlic powder, onion powder, red pepper flakes, cayenne pepper, cocoa powder, and cinnamon. These work together to create the signature rich, smoky, and slightly spicy flavor of chili.
What can I use if I don’t have a chili seasoning packet?
If you’re out of a chili packet, don’t worry. Combine common pantry spices like chili powder, cumin, paprika, garlic powder, and a pinch of cayenne for a quick, flavorful substitute. Add salt to taste and adjust heat with red pepper flakes.
What are the best spices to put in chili?
The best spices for chili include chili powder, cumin, smoked paprika, garlic powder, onion powder, and cayenne pepper. For extra depth, cocoa powder and cinnamon add complexity and warmth. These spices combine to balance savory, spicy, and earthy notes.
Conclusion: Spice Smarter with Homemade Chili Seasoning
With just a few pantry staples, this chili seasoning recipe gives you unbeatable flavor, total ingredient control, and endless versatility. Whether you’re crafting a spicy chili con carne, a meatless Monday bowl, or a quick taco night, this DIY mix transforms basic ingredients into something bold and crave-worthy.
Ditch the store packets and enjoy the perks of homemade—from lower sodium to elevated taste. Spice smarter, cook better, and enjoy chili the way it was meant to be: full of flavor and completely your own.
Learn more about crafting dishes with real, wholesome ingredients at: https://www.saveallrecipes.com
Discover great content like this and more pink-hued recipes on our official Facebook page—where flavor meets creativity every day.
